Hello stranger! Soz for not posting in a little while, some fucker shut my little finger in a big ass door at my local. You can look here if you're a morbid fucker and want to see it.
So anyway, I pretty much live in baggy-but-slightly-sheer t shirts because I'm super lazy when it comes to fashion (and also life). They're super comfy and flattering and you can wear them with a mini at ~*dA cLuB*~ and jeans for going to the supermarket. My ex-boyfriend used to describe my style as 'sexy homeless' and although he was a fool about a lot of things, that statement wasn't one of them.

You can get this one at topshop for £12. I have about five thousand of them. But I still want more, so thought I'd try to re-create it myself. All I needed was about a metre of slightly sheer, slightly stretchy fabric (you need the extra to make bias binding for the edges) and some pattern paper like this pack for £3.18 from Amazon. Or if you're feeling especially frugal you could probably use newspaper or and big bits of paper.

I found this cotton jersey in Fabric Land for £2.49 a metre. Bargain. On the left is the right side and the right is the wrong side, but I actually preferred the wrong side since it was a bit more muted, and spend the rest of this project getting confused about which side I was using as a right side.

So find your favourite t shirt and just lay it flat on the pattern paper.

Then pin around the t shirt onto the paper to get the basic shape.

If you then remove the t shirt and draw a line 1cm around where the pins were, and add another 2cm on top of that to the sleeve edges for the cuffed sleeves. You will need to make two of these since we have to edit the front piece neckline.

To make the front piece first measure the different between the back neckline and the front neckline while the t shirt is laid flat. You can see mine was 5 cm.

Then on one of your pattern pieces just measure 5 cm down from the back neckline, draw a curved line from this point to the end of the neckline and cut out.

Here's my cut back pattern piece, neat right? Now you just have to cut one of each piece from your fabric.

Once it's cut, you can sew the side seams and shoulder seams. Now we have to finish the neckline and bottom hem with bias binding and this is where we're gonna use that extra fabric we hopefully have leftover. If you're unfamiliar with using bias binding, you're in for a treat because once you get the hang of it it's a super easy way of finishing edges. You can buy ready made bias binding but I've always found that to be a bit of a cop out since it's so easy to make and then it matches your fabric exactly. But I don't know, maybe you're super busy or whatever. I don't know your life.

So 'bias' is basically the fancy sewing word for 'diagonal', so we need to cut the fabric diagonally, duh. Cutting fabric this way makes it stretchy-er, because physics or some shit. It needs to be cut at about a 45 degree angle, so the easier way of doing it is to fold the fabric over like in my very helpful diagram, and mark along where the red line is.

Then measure 1 inch stripes from the line your made on the fabric, and cut out the strips.

Place the straight non-cut edges together and sew along to make longer strips.

Now pin the right side of the bias binding to the right side of the neckline or bottom hem of your t shirt and sew

It should look like this, except less shit. Now fold and pin the bias binding over on to the wrong side of the main fabric, so the edges are enclosed and sew along 1 cm from the edge.

If you're confused by my vague ass description, there are plenty of YouTube tutorials around to help you out. You can finish the armholes in the same way if you want, but I wanted some rolled cuffed sleeves because I fancy myself as a bit of a rebel without a cause type.
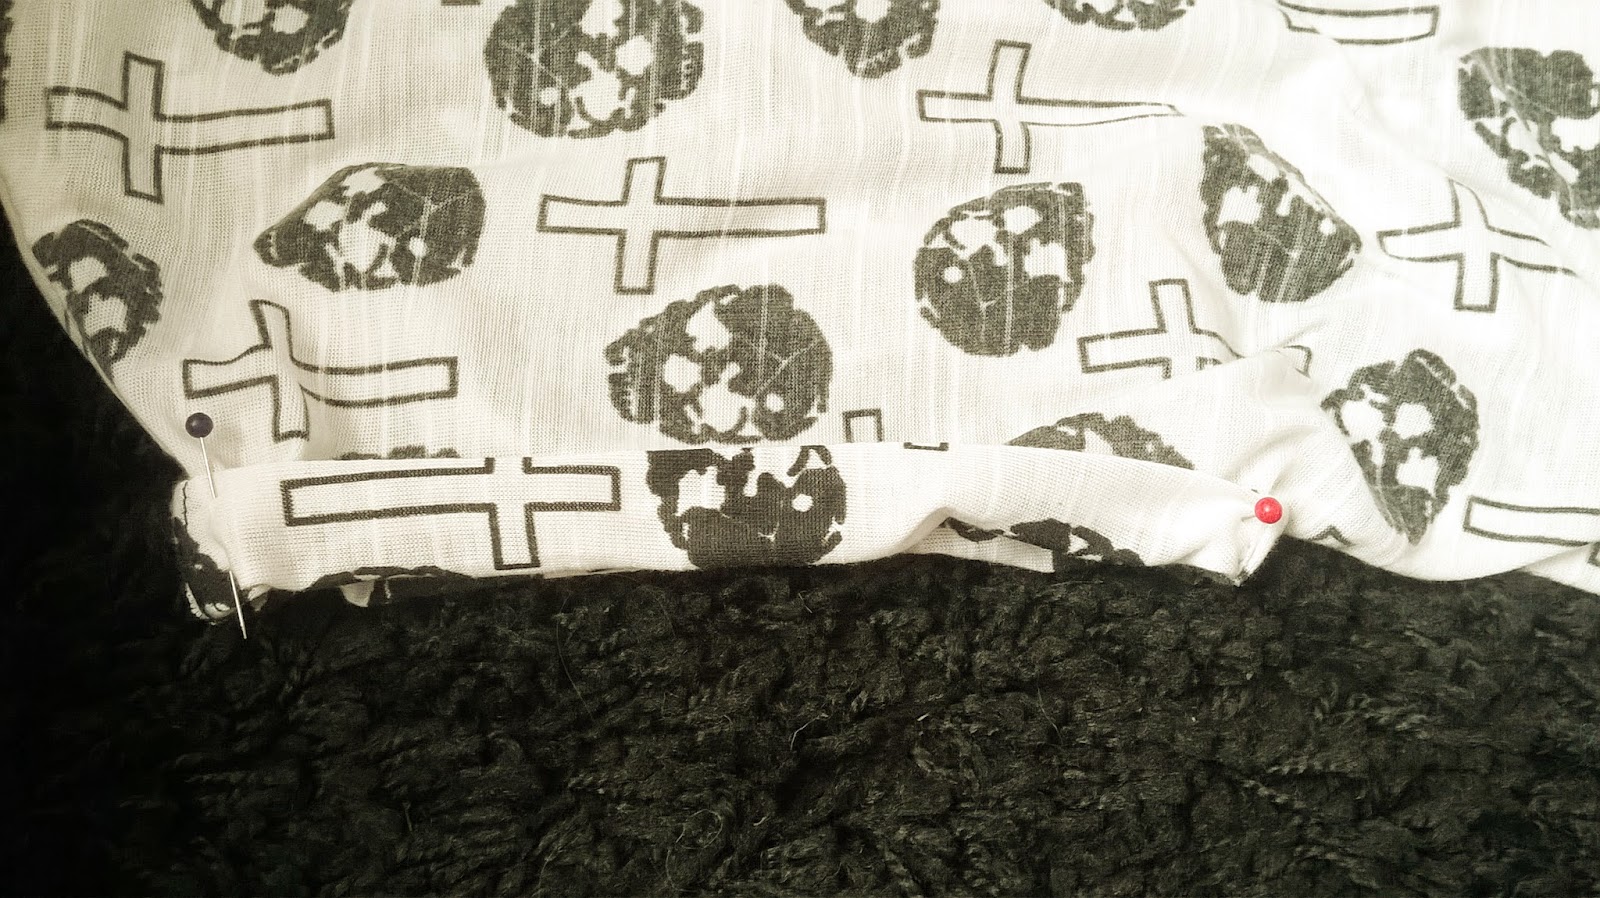
With the t shirt the right way out, fold the sleeve edges over twice and pin in place. Then either by hand or on a machine, sew a few stitches at the bottom and the top of the sleeve where it meets the seam. And that's pretty much it.

Check out my cringey posing.


And yeah okay okay so my neckline and bottom hem edges aren't like, *super* straight. But for me it's a pretty good effort. I can always pretend like I meant to make it that way.


Ta-da motherfuckers!


