Hey! Long time no see, eh? Sorry about that.. I was doing other important things like having a life and watching netflix while eating various cheeses.
But good news! I've moved over to a proper website with a proper URL and everything, how fun is that?
Find me at www.dalesydoes.com
Come say hello sometime, love ya losers.
H
Wednesday, 27 May 2015
Tuesday, 21 October 2014
Leather make up bag DIY aka the You-can't-be-good-at-everything cautionary tale

So for the last few weeks I've been going to the gym a lot, because my awesome youthful metabolism is failing as I get older and I don't want to have to stop eating cake, basically. Anyway I wanted to make a bag that was big enough for shampoo and stuff as well as make up, because I'm mainly going before work (who can honestly be arsed with that after a 10 hour shift???) and my conditioner leaked all over my work clothes the other day. I didn't realise until it was too late to go home and get new clothes, and it was all kinds of terrible. I basically looked like I was covered in spunk. Very professional.
To make this I used:
.25 metres faux leather
.25 metres lining fabric
25 cm zip
Thing is, I've spoken before about my possibly over dramatic resentment towards zips and other fiddily fastenings. Eughh they're just the worst. But I got to thinking one day, hey man, I did textile design at school for seven years, I'm sure I could make a little bag with a zip fastening, people do that kind of shit all the fucking time, and people are essentially morons. And although I was right in the end, I did make a little bag with a zip fastening, it was not a good little bag with a zip fastening. So copy at your peril.

Out of each fabric cut 1 rectangle and 2 triangles to the above proportions.

I made a paper pattern first out of a few sheets from a pad of graph paper from Wilko. Seriously, cheap graph paper is bloody amazing. I use it to make my own cross stitch and fair isle knitting patterns as well as for small sewing project patterns, and it's like 40p a pad.

Here are mine cut.

Pin one of the triangles to the corner of one of the long sides of the rectangle.

Sew along with 1 cm seam allowance, but stop 1 cm before the end.

Making sure the needle is in the fabric, lift up the presser foot. Then cut a slit going from the corner of the fabric to nearly where the needle is.

Now bring over the shortest side of the triangle fabric, put down your presser foot and sew along. Do the same for the next corner coming up.

Repeat on the other side of your rectangle, and then repeat the whole thing with your other fabric.

Okay so for some reason one of my sides overlapped by about an inch. I'm still not really sure why. But it's fine I just tripped off the excess, no biggie. Now with the lining fabric wrong side out, and the main fabric right side out, put the lining inside the main fabric.

All of that was the easy part, now is where it started to go horribly, horribly wrong for me.

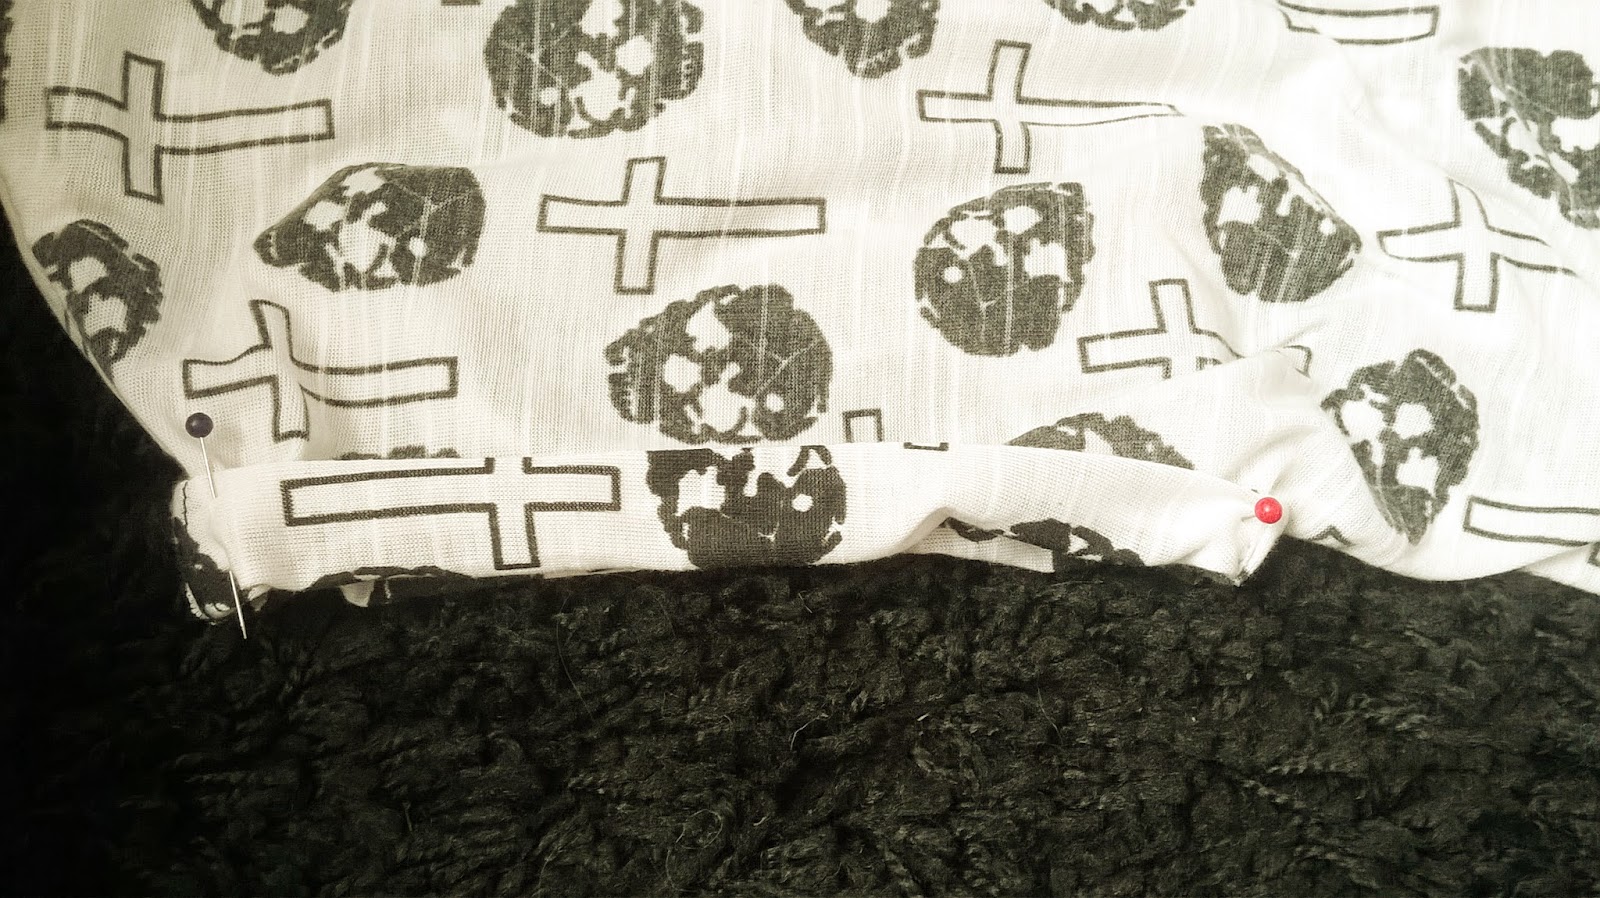
I pinned the zip to the outside fabric and then to the lining fabric afterwards. I don't know if that's how you're supposed to do it but it but whatever man. Fuck the system.

When I was pinning it, it seemed to fit a bit awkwardly, which probably would have been a warning sign for someone who doesn't have shit for brains like I apparently do.

But it zipped up! So I thought it was probably alright? Anyway I sewed it up, but I found it really difficult at either end of the zip, are you meant to do that bit by hand?

But I hate hand sewing almost as much as I hate zips so I thought fuck it, just leave it and hope I don't lose my eye liner pencil.

There's also a part where I didn't catch the end of the lining fabric so it doesn't fold over properly, but I didn't want to un-pick it and sew it again because a) the stitches would have already left little holes in the leather and b) laziness.

So okay mainly due to my own ineptitude it's not really super pretty and I'm not massively proud of it, but it will work for what I wanted it to and also it taught me a valuable lesson: just stay the fuck away from zips you idiot.
Faux fur cushion set DIY

I found some awesome grey faux fur in Fabric Land for like £6 a metre, but you can buy that shit all over Amazon. It's surprisingly pretty good, I mean the wrong side is rough as fuck, but if you lined it with something nice you could probably make a throw pretty easily. I might make some to match my cushions.

Anyway, I used this tutorial I did a while back to make a set of dope fluffy cushions. Sewing with the fur was pretty easy, I mean you're supposed to only sew with the grain of the fur and a bunch of other stuff but I didn't bother with any of that and they came out okay.

Friday, 10 October 2014
Kitchen cabinet curtain DIY

To make this I used about .75 metres of printed cotton, 2 metres of elastic, and two suction hook thingys which you can buy here in packs of 12 for £1.99.

So I live in my granny's old house that my dear mama owns and renovated a few years back. When it came to designing the new kitchen, my mum (being a chronic food hoarder in the way that most mothers seem to be) decided to put about five thousand cabinets in it.

Trouble is, my kitchen is literally completely fucking lined with cupboards, except this one little gap, which we have tastefully filled in with saucepans and spare chairs. Looks cute right?
First I measured my 'gap' that I wanted to cover with the curtain. It was about 60 inches across and 35 inches down. You'll need to add a bit extra for side and bottom hems (add 1 inch both length and width) and for the channel for the elastic at the top (add 2 inches). So I needed a 61 x 38 inch rectangle.

Sew half inch folded over hems along the bottom and sides of the rectangle first. Then sew a fully inch folded over hem along the top to thread the elastic through. It's helpful if you attach the end to a safety pin and then thread that through.

Helpfully illustrated with the above photograph.
Then all that's left to do is attach the ends of the elastic to the hooks on the sucker things, and stick them to either side of the gap.

And now nobody needs to see my rusty saucepans and half drunk bottles of amaretto. Victory!
Friday, 26 September 2014
Boyfriend t-shirt DIY
Hello stranger! Soz for not posting in a little while, some fucker shut my little finger in a big ass door at my local. You can look here if you're a morbid fucker and want to see it.
So anyway, I pretty much live in baggy-but-slightly-sheer t shirts because I'm super lazy when it comes to fashion (and also life). They're super comfy and flattering and you can wear them with a mini at ~*dA cLuB*~ and jeans for going to the supermarket. My ex-boyfriend used to describe my style as 'sexy homeless' and although he was a fool about a lot of things, that statement wasn't one of them.

You can get this one at topshop for £12. I have about five thousand of them. But I still want more, so thought I'd try to re-create it myself. All I needed was about a metre of slightly sheer, slightly stretchy fabric (you need the extra to make bias binding for the edges) and some pattern paper like this pack for £3.18 from Amazon. Or if you're feeling especially frugal you could probably use newspaper or and big bits of paper.

I found this cotton jersey in Fabric Land for £2.49 a metre. Bargain. On the left is the right side and the right is the wrong side, but I actually preferred the wrong side since it was a bit more muted, and spend the rest of this project getting confused about which side I was using as a right side.

So find your favourite t shirt and just lay it flat on the pattern paper.

Then pin around the t shirt onto the paper to get the basic shape.

If you then remove the t shirt and draw a line 1cm around where the pins were, and add another 2cm on top of that to the sleeve edges for the cuffed sleeves. You will need to make two of these since we have to edit the front piece neckline.

To make the front piece first measure the different between the back neckline and the front neckline while the t shirt is laid flat. You can see mine was 5 cm.

Then on one of your pattern pieces just measure 5 cm down from the back neckline, draw a curved line from this point to the end of the neckline and cut out.

Here's my cut back pattern piece, neat right? Now you just have to cut one of each piece from your fabric.

Once it's cut, you can sew the side seams and shoulder seams. Now we have to finish the neckline and bottom hem with bias binding and this is where we're gonna use that extra fabric we hopefully have leftover. If you're unfamiliar with using bias binding, you're in for a treat because once you get the hang of it it's a super easy way of finishing edges. You can buy ready made bias binding but I've always found that to be a bit of a cop out since it's so easy to make and then it matches your fabric exactly. But I don't know, maybe you're super busy or whatever. I don't know your life.

So 'bias' is basically the fancy sewing word for 'diagonal', so we need to cut the fabric diagonally, duh. Cutting fabric this way makes it stretchy-er, because physics or some shit. It needs to be cut at about a 45 degree angle, so the easier way of doing it is to fold the fabric over like in my very helpful diagram, and mark along where the red line is.

Then measure 1 inch stripes from the line your made on the fabric, and cut out the strips.

Place the straight non-cut edges together and sew along to make longer strips.

Now pin the right side of the bias binding to the right side of the neckline or bottom hem of your t shirt and sew

It should look like this, except less shit. Now fold and pin the bias binding over on to the wrong side of the main fabric, so the edges are enclosed and sew along 1 cm from the edge.

If you're confused by my vague ass description, there are plenty of YouTube tutorials around to help you out. You can finish the armholes in the same way if you want, but I wanted some rolled cuffed sleeves because I fancy myself as a bit of a rebel without a cause type.
With the t shirt the right way out, fold the sleeve edges over twice and pin in place. Then either by hand or on a machine, sew a few stitches at the bottom and the top of the sleeve where it meets the seam. And that's pretty much it.

Check out my cringey posing.


And yeah okay okay so my neckline and bottom hem edges aren't like, *super* straight. But for me it's a pretty good effort. I can always pretend like I meant to make it that way.


Ta-da motherfuckers!
Monday, 15 September 2014
The vintage pattern selector - retro pyjamas

I got this bad ass book from Waterstones last week on a bit of an impulse. I historically don't get on very well with sewing clothes, but what the hell. Practice makes perfect right?
This book comes with 15 patterns on a CD. Books like this always describe these patterns as 'free', but have you ever actually printed one out? Even small things use up twenty thousand sheets of fucking paper somehow. And I don't even have a printer. Or a computer with a CD drive. What was I thinking? I ended up 'borrowing' my brothers laptop and printer when he was at work - sorry bro!

I decided to make some pyjamas because I figured that even if what I made looked fucking awful, at least I would still be able to use it. Most of my pyjamas and general lazing around clothes look fucking awful anyway.

I got some awesome cowboy fabric from Fabric Land in Bristol, because why the fuck not. Funny story: When I was buying this, the girl cutting it asked me what I was making, so obviously I told her pyjamas. Thing was, she assumed that I was making pyjamas for a child. My own child, specifically. She started asking me about my fictional child and obviously I couldn't then admit that the pyjamas were actually for me look like a weirdo. So did what an actual weirdo would have done, and told her a bunch of bullshit about my fictional son who loves cowboys.

But the upshot of it is that I now have some awesome retro cowboy print PJ's

Check me out man, takin selfies like Kim Kardashian!
Subscribe to:
Posts (Atom)