Friday 26 September 2014

Boyfriend t-shirt DIY


Hello stranger! Soz for not posting in a little while, some fucker shut my little finger in a big ass door at my local. You can look here if you're a morbid fucker and want to see it.

So anyway, I pretty much live in baggy-but-slightly-sheer t shirts because I'm super lazy when it comes to fashion (and also life). They're super comfy and flattering and you can wear them with a mini at ~*dA cLuB*~ and jeans for going to the supermarket. My ex-boyfriend used to describe my style as 'sexy homeless' and although he was a fool about a lot of things, that statement wasn't one of them.


You can get this one at topshop for £12. I have about five thousand of them. But I still want more, so thought I'd try to re-create it myself. All I needed was about a metre of slightly sheer, slightly stretchy fabric (you need the extra to make bias binding for the edges) and some pattern paper like this pack for £3.18 from Amazon. Or if you're feeling especially frugal you could probably use newspaper or and big bits of paper.


I found this cotton jersey in Fabric Land for £2.49 a metre. Bargain. On the left is the right side and the right is the wrong side, but I actually preferred the wrong side since it was a bit more muted, and spend the rest of this project getting confused about which side I was using as a right side.


So find your favourite t shirt and just lay it flat on the pattern paper.


Then pin around the t shirt onto the paper to get the basic shape.


If you then remove the t shirt and draw a line 1cm around where the pins were, and add another 2cm on top of that to the sleeve edges for the cuffed sleeves. You will need to make two of these since we have to edit the front piece neckline.


To make the front piece first measure the different between the back neckline and the front neckline while the t shirt is laid flat. You can see mine was 5 cm.


Then on one of your pattern pieces just measure 5 cm down from the back neckline, draw a curved line from this point to the end of the neckline and cut out.


Here's my cut back pattern piece, neat right? Now you just have to cut one of each piece from your fabric.


Once it's cut, you can sew the side seams and shoulder seams. Now we have to finish the neckline and bottom hem with bias binding and this is where we're gonna use that extra fabric we hopefully have leftover. If you're unfamiliar with using bias binding, you're in for a treat because once you get the hang of it it's a super easy way of finishing edges. You can buy ready made bias binding but I've always found that to be a bit of a cop out since it's so easy to make and then it matches your fabric exactly. But I don't know, maybe you're super busy or whatever. I don't know your life.


So 'bias' is basically the fancy sewing word for 'diagonal', so we need to cut the fabric diagonally, duh. Cutting fabric this way makes it stretchy-er, because physics or some shit. It needs to be cut at about a 45 degree angle, so the easier way of doing it is to fold the fabric over like in my very helpful diagram, and mark along where the red line is.


Then measure 1 inch stripes from the line your made on the fabric, and cut out the strips.

Place the straight non-cut edges together and sew along to make longer strips. 


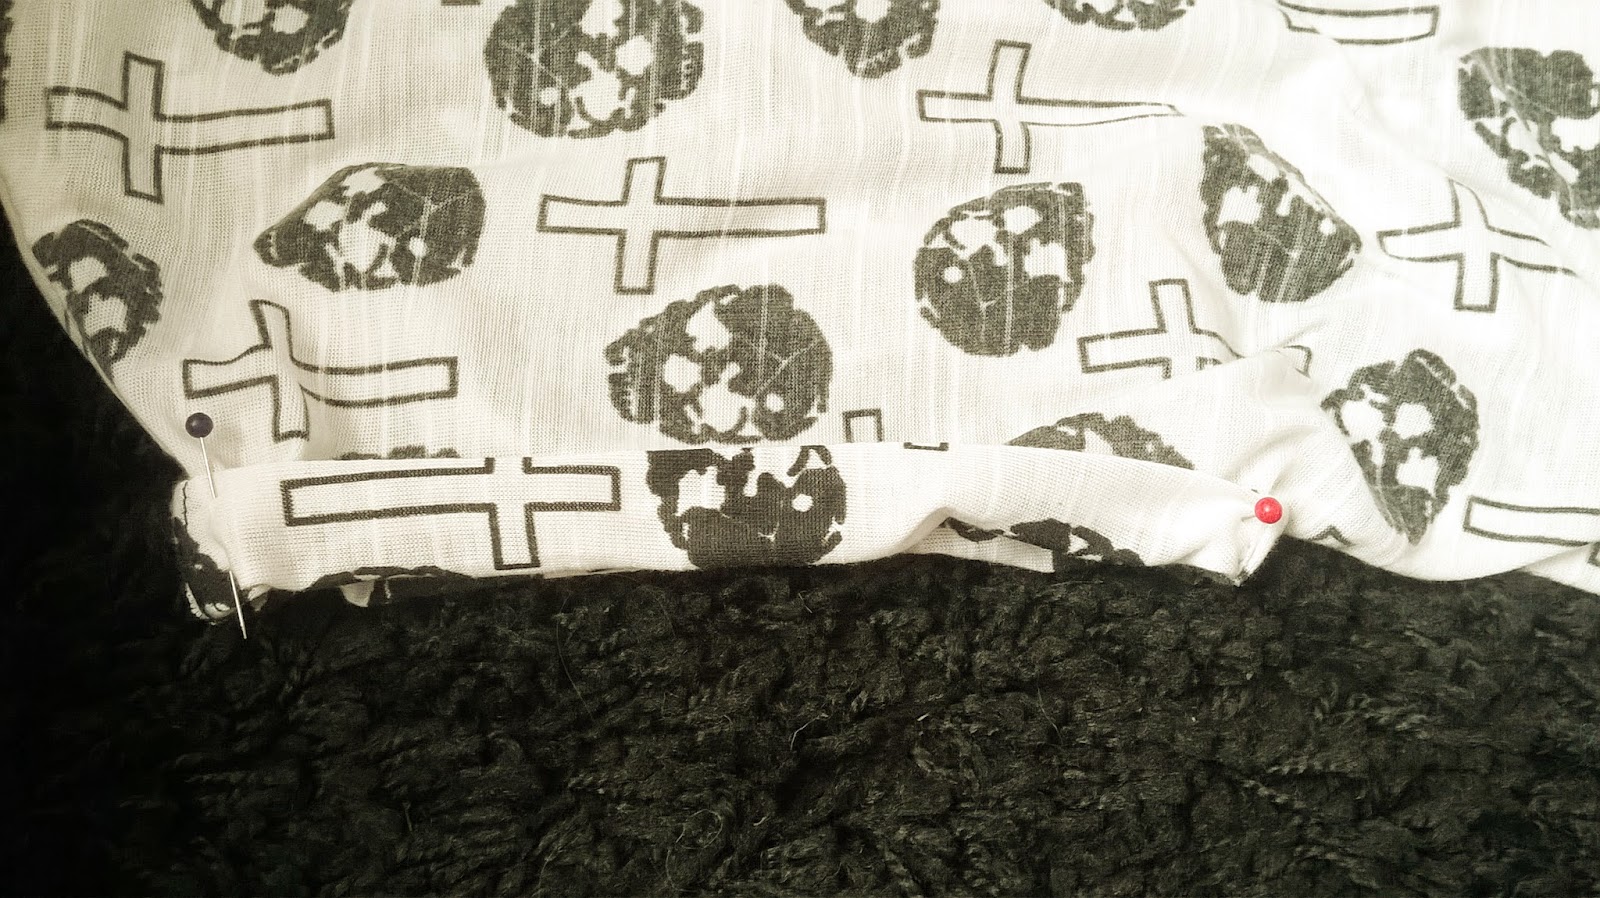
Now pin the right side of the bias binding to the right side of the neckline or bottom hem of your t shirt and sew


It should look like this, except less shit. Now fold and pin the bias binding over on to the wrong side of the main fabric, so the edges are enclosed and sew along 1 cm from the edge.


If you're confused by my vague ass description, there are plenty of YouTube tutorials around to help you out. You can finish the armholes in the same way if you want, but I wanted some rolled cuffed sleeves because I fancy myself as a bit of a rebel without a cause type.


With the t shirt the right way out, fold the sleeve edges over twice and pin in place. Then either by hand or on a machine, sew a few stitches at the bottom and the top of the sleeve where it meets the seam. And that's pretty much it.


Check out my cringey posing.


And yeah okay okay so my neckline and bottom hem edges aren't like, *super* straight. But for me it's a pretty good effort. I can always pretend like I meant to make it that way.


Ta-da motherfuckers!


Monday 15 September 2014

The vintage pattern selector - retro pyjamas


I got this bad ass book from Waterstones last week on a bit of an impulse. I historically don't get on very well with sewing clothes, but what the hell. Practice makes perfect right?

This book comes with 15 patterns on a CD. Books like this always describe these patterns as 'free', but have you ever actually printed one out? Even small things use up twenty thousand sheets of fucking paper somehow. And I don't even have a printer. Or a computer with a CD drive. What was I thinking? I ended up 'borrowing' my brothers laptop and printer when he was at work - sorry bro!


I decided to make some pyjamas because I figured that even if what I made looked fucking awful, at least I would still be able to use it. Most of my pyjamas and general lazing around clothes look fucking awful anyway.


I got some awesome cowboy fabric from Fabric Land in Bristol, because why the fuck not. Funny story: When I was buying this, the girl cutting it asked me what I was making, so obviously I told her pyjamas. Thing was, she assumed that I was making pyjamas for a child. My own child, specifically. She started asking me about my fictional child and obviously I couldn't then admit that the pyjamas were actually for me look like a weirdo. So did what an actual weirdo would have done, and told her a bunch of bullshit about my fictional son who loves cowboys. 


But the upshot of it is that I now have some awesome retro cowboy print PJ's


Check me out man, takin selfies like Kim Kardashian!

Friday 12 September 2014

Tobacco Pouch DIY Part 2: Faux leather version


So like a week ago I made this fabric tobacco pouch as part of an ongoing effort to design more of my own stuff rather than using other peoples patterns or tutorials or whatever. But I wasn't really happy with it. In truth, it was a bit shit, wasn't it?

But Captain Perseverance came to the rescue and I gave it another bash. This time it's made out of sturdy faux leather and doesn't have a lining, making it about a million times easier. 


I used the same dimensions as last time - you want a 15 cm x 22 cm rectangle and you fold it 8 cm from the edge.


Here's mine all sewed up and stuff. The fake leather doesn't really fray so you can get right in there with your seam allowance and it makes for a cleaner fold later on.


Since I was just trimming the top flap rather than having a seam or hem or whatever, I folded it in half before I cut it so then if it was fucking awful, at least it would be symmetrically fucking awful.


Then all you need to do is sew the hair band or elastic or whatever you're using onto the bottom edge. I really can't be arsed to explain it all again so refer to my original post if you're not sure what I'm on about.


And that's it, you don't have to fuck around with lining or any of that bullshit.


Also, if you're feeling lazy but rich and just want to buy one that I've made, you can get them here on my brand new shiny Etsy store. Currently it's the only thing I'm actually stocking... but you know, you've got to start somewhere :)


Monday 8 September 2014

Pom-pom curtain edging upgrade


I bought some pom-pom edging type stuff from Craft and more in Bristol a while back with the intention of using it to jazz up my curtains. But actually I just looked it up on Amazon and I feel like a prize twat because it's much cheaper here. Whatever, that's life I guess.

Aside from that edging stuff I just used some scissors and thread and a sewing machine and all that. Seriously though what is that pom-pom edge stuff called because whenever I type edging I can't help but think about that thing where you masturbate but stop before you orgasm. It's supposed to hold in your Chi or some shit, whatever that is. And before you start thinking I'm a freaky sex deviant it was on Orange Is The New Black alright.


So here were my curtains before, big yawn right?


With this edging you just need to pin and sew it straight to the outside edge of your curtain. But unless you want to sew the edge onto both sides of the curtain, be careful which side you sew it to.


Just in care you're a complete idiot, here is a helpful diagram to help you figure out which sides to sew it to.


Be careful though cos this stuff is thin as fuck and those little pom-pom bastards can get in your way. But I mean other than that there's not much else to it besides enjoying living in a bohemian paradise.


Wednesday 3 September 2014

Tobacco pouch DIY


Yeah yeah yeah, smoking is terrible for you and disgusting or whatever, I know. It also feels great and looks super cool btw, but you don't hear me banging on about it. 


For the last few years I've kept my tobacco and rolling paraphernalia together with a hair band., which surprisingly, isn't actually that practical. You always end up loosing something in your bag, and also it looks trampy as fuck. To make this pouch I used a hair band and a few scraps of fabric. 


I used some squared pattern paper to measure my tobacco and make my pouch pattern. I made mine just under three times as long as my tobacco pouch, and added 2 cm seam allowance. It ended up being a 15 cm x 22 cm rectangle, see what I mean about scraps?


I bought this dope ass ÄLGÖRT fabric from our Swedish design overlord friends at IKEA last time I was there. But you need such a small amount of fabric, you could probably just cut it out of a shirt or something if you wanted to be Super Captain Economical.


This pink lining fabric is something I've had lying around leftover since my year 13 textiles coursework about 7 years ago. I told you I was a hoarder. But really, does anyone know, what is the actual difference between proper lining fabric and regular fabric? Except that lining fabric is shit and frays like a motherfucker? Whatever I usually just use regular fabric for lining because I'm just a fucking rouge who doesn't play by the rules.


You only need two rectangles, one for the outside and one for the lining. You need to fold both pieces of fabric over (wrong side outside) about 8 cm from one of the shorter sides and sew along each side.


You should have two little pouches. Now cut the corners off the bottom of them for a cleaner corner later when they get turned the right way around.


Turn the outer fabric the right way out, but leave the lining fabric inside out. Now put the outer fabric inside the lining fabric pouch.


Next you need to pin the tops of the pouches together like this. I know in the photo the outer fabric isn't inside the lining fabric, but that's only because I only figured out that would be much easier until after I'd done it, because I'm a fucking moron. Anyway whatever sew that shit up.


Starting to look pretty fucking A right? Next we gotta sew up the seam along the top, of what will eventually be the flap. But you want to leave yourself a hole to turn it the right way out, so just sew along one side and the top and leave the other side. Also you can see my edge is wonky as fuck, so if you're incapable to cutting or sewing straight lines like I am, now is a good time to trim and straighten the edge. 


Now it's time for the really fucking annoying part - turning it out the right way. Trim the fuck out of those seams to make your life easier. 


Ten hours of poking fabric through a one inch hole later, and it's the right way out. Turn the edges of your little hole in and pin it before hand sewing closed.


My granny always called this a 'sleeper stitch', but she was also a crazy but awesome old lady who used to say that she remembered being born, so I feel like that might have just been the term she made up for it.


All we have left is sewing on the hair band. I folded the bottom edge in half and stuck in a pin in to mark the middle.


As I am very helpfully demonstrating in this picture, the hair band needs to be sewn at a right angle to the bottom of the pouch.


If you're a better sewer than me (so everyone then yeah?) then maybe you could figure out a way to do this on your machine, probably before you sew the side seams even. But I can't do that so whatever I just hand sewed it on like a bunch of times so it wouldn't break.  

But now it's done! Just fill with your tobacco and enjoy being more awesome than everyone else.